I think that using Redux for complex state management has many benefits, including predictable state flow and easier debugging. I also think that the best way for the information to sync in is to show an example. While there are plenty of tutorials on integrating Redux with React apps, there’s less focus on doing the same for React Native. For my demo, I'm using Expo SDK 51. This article builds on my ongoing series of Expo tutorials. If you’re new to the series or want to explore related topics, scroll to the recommended reads.
Adding Redux to the Demo App
Install dependencies
npm i --save react-redux redux @reduxjs/toolkitWhere redux is the core, react-redux are React bindings for redux, and reduxjs/toolkit makes redux look less scary.
Setup Store
Redux store holds all shared state data, and with toolkit included, setup for reducers, store and actions is easy.
Configuration for store looks like:
const rootReducer = combineReducers({
  // include slices
});

const store = configureStore({
  reducer: rootReducer,
  middleware: (getDefaultMiddleware) =>
    getDefaultMiddleware({
      thunk: true,
      serializableCheck: false,
    }).concat(middlewares),
  enhancers: (getDefaultEnhancers) => getDefaultEnhancers().concat(enhancers),
  devTools: __DEV__,
});
Where rootReducer combines multiple slices into a single reducer. Each "slice reducer" is responsible for handling updates to a specific part of the state. Middlewares and enhancers are optional. Middlewares are used for intercepting requests. One such example of middleware is logging of actions:
  const customLoggerMiddleware: Middleware = (_r) => (next) => (action: PayloadAction) => {
    logger.log(`Action Dispatched: ${action.type}`);
    return next(action);
  };
In my demo app, I just have a single reducer slice, called taskSlice:
const rootReducer = combineReducers({
  [taskSlice.name]: taskSlice.reducer,
});
And taskSlice reducer is:
const taskSlice = createSlice({
  initialState: [],
  name: 'tasks',
  reducers: {
    initialize: (state, action: PayloadAction<{ tasks: Task[] }>) => {
      return action.payload.tasks;
    },
    addTask: (state, action: PayloadAction<{ task: Task }>) => {
      state.push(action.payload.task);
    },
    removeTask: (state, action: PayloadAction<{ id: Task['id'] }>) => {
      return state.filter((task) => task.id !== action.payload.id);
    },
  },
});

const { initialize, addTask, removeTask } = taskSlice.actions;
createSlice creates a segment with initial state, reducers and actions.
Since initializing, adding, and removing tasks involve asynchronous I/O operations, I decided to use an async thunk for handling these processes. Here’s an example of how it is implemented:
const addTaskHandler = createAsyncThunk(
  'tasks/add',
  async ({ tasksClient, taskName }: { tasksClient: TaskClient; taskName: string }, thunkApi) => {
    const task = await tasksClient.add(taskName);
    thunkApi.dispatch(addTask({ task }));
  }
);
I use it in the code with dispatch:
const { tasksClient } = useDataContext();

const onClick = ()=>{
  dispatch(addTaskHandler({ taskName: newTask, tasksClient }));
}
I could have skipped using async redux, but it allows me to separate side effects from component logic. It looks cleaner.
Debugging Redux in Expo
Debugging Redux on the web is straightforward with tools like Redux DevTools. However, I need a solution for native expo debugging. Expo provides a way to debug native through devtools plugin. This is the plugin that I'm using for debugging redux:
npm install --save redux-devtools-expo-dev-pluginOnce installed, you can access the Redux DevTools while running your app on an emulator or a physical device.
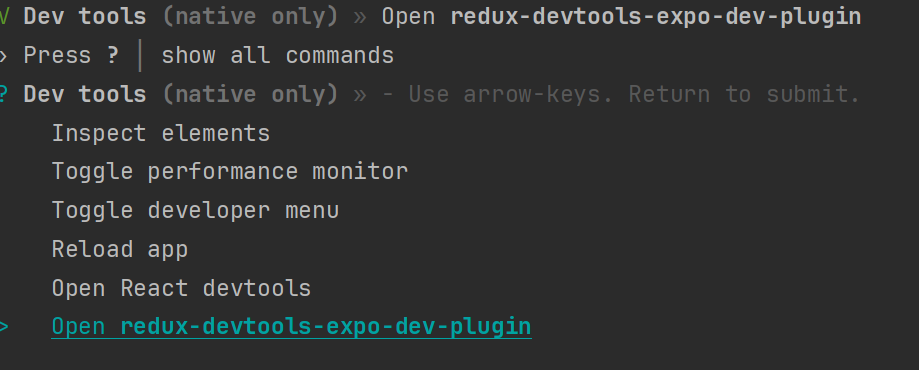
Just press shift+m to open expo developer menu, then click on Open redux-devtools-expo-dev-plugin:

As you can see in the screenshot below, this plugin provides the same look and feel as the redux devtools chrome extension:

