
With the Google Play Developer API I can focus more on the development part and less on the manual work. I don't need to manually upload an app release, I automate it through GitHub actions. When a new release is read, GitHub will automatically publish the app to internal test track.
But to be honest, I get a feeling I spend more time to automate things then I do the "manual work" (it's always some kind of manual work).
To make API requests work, I needed to create a google service account, link it to the play console, assign apps and appropriate permissions for the apps, generate a new service account key, and then use it like in the example in this article. Or store it in your GitHub repository secrets and reference it in gh actions.
Create a service account
- Go to the Google cloud console, select your project or create a new project.
- Go to Apis & services and make sure Google Play Android Developer Api is enabled
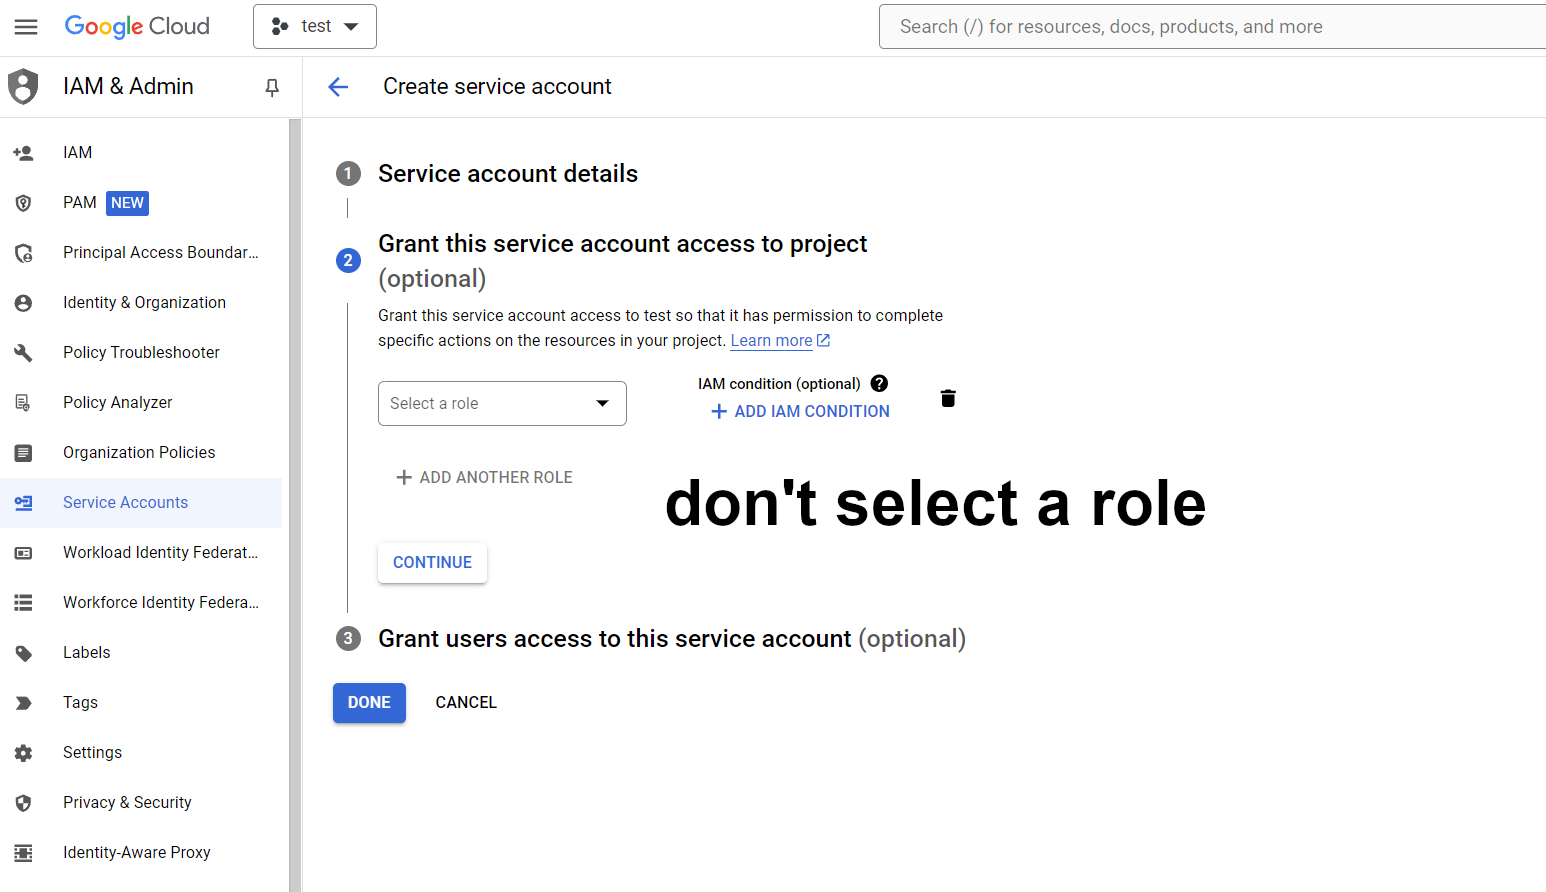
- Then go to Credentials and create a new service account key, no need to select any permissions or roles, just name it and save it.
- Copy the service account email. You need it for linking to the Play console.
Link service account to Google Play Console
- Go to Google Play console and go to Users and permissions.
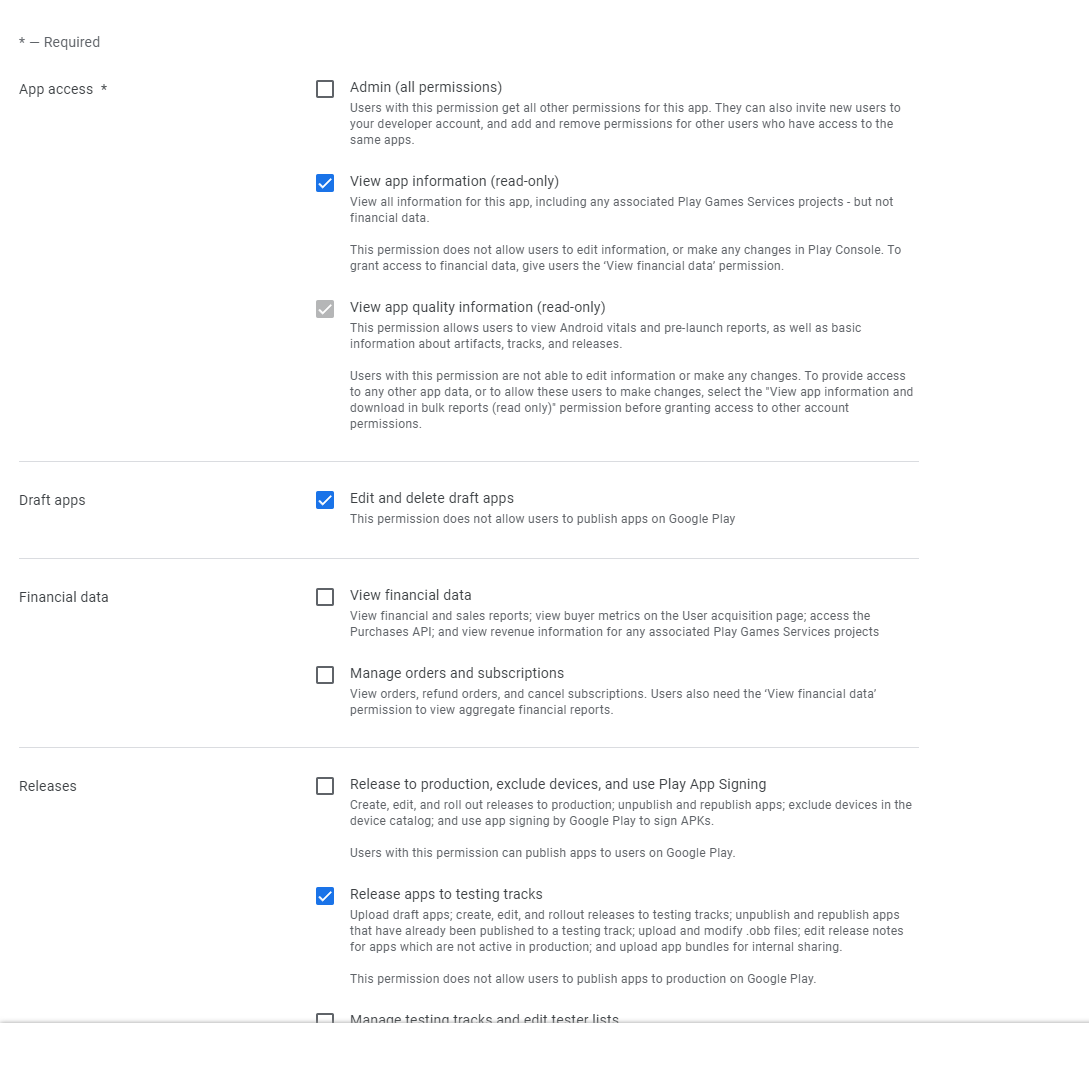
- Invite a new user and assign apps and then adjust permissions for the apps. For publishing to test tracks I just have View app information, Edit and delete draft apps, Release apps to testing tracks.
Get the service account key
- Go back to your service account and click it.
- Click on keys and create a new key.
- Save the json file somewhere on your system. It's used for authorizing actions with the API.
Example use
Install googleapis dependencies, instantiate the androidpublisher object and call any of the methods that are documented here.
const { google } = require('googleapis');
const path = require('path');
const serviceAccountKey = require(process.env.PRIVATE_KEY_FILE);

const jwtClient = new google.auth.JWT(
  serviceAccountKey.client_email,
  null,
  serviceAccountKey.private_key,
  ['https://www.googleapis.com/auth/androidpublisher'],
);

module.exports = async function(){
  await jwtClient.authorize()
  const androidpublisher = google.androidpublisher({
    version: 'v3',
    auth: jwtClient,
  });

  return androidpublisher;
}
This is just an example snippet. It's kind of dirty and error handling is missing, but it's good enough for the REPL. You can call it in the Node REPL and call any of the methods listed in the google api documentation. For example, enter node and paste:
const factory = require('./test.js');
const andro = await factory();
andro.generatedapks.list({packageName, versionCode})
This method returns the download metadata.
I've explained how to get the key and how to instantiate the client.
For everything else, read the api docs.